Web Hosting using Netlify
Here we learn how to host a static site using Netlify with step by step
Netlify is a web developer platform. Netlify enables fast and easy deployments. In this blog we learn to host static site directly from your GitHub Repository
To follow along this blog make sure you have the following setup ready
GitHub Account
Netlify Account
Site pages
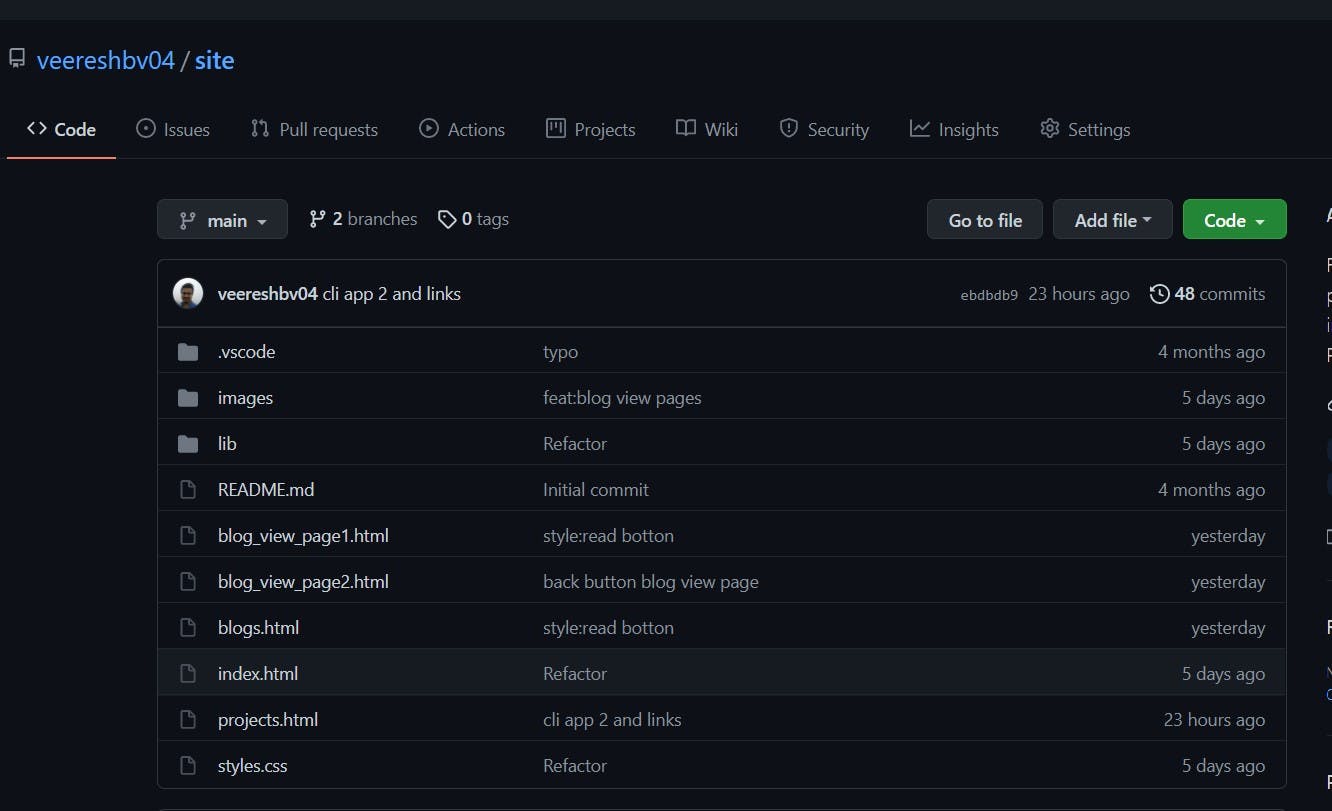
Step 1 : Push all your site related code to your GitHub Repository.
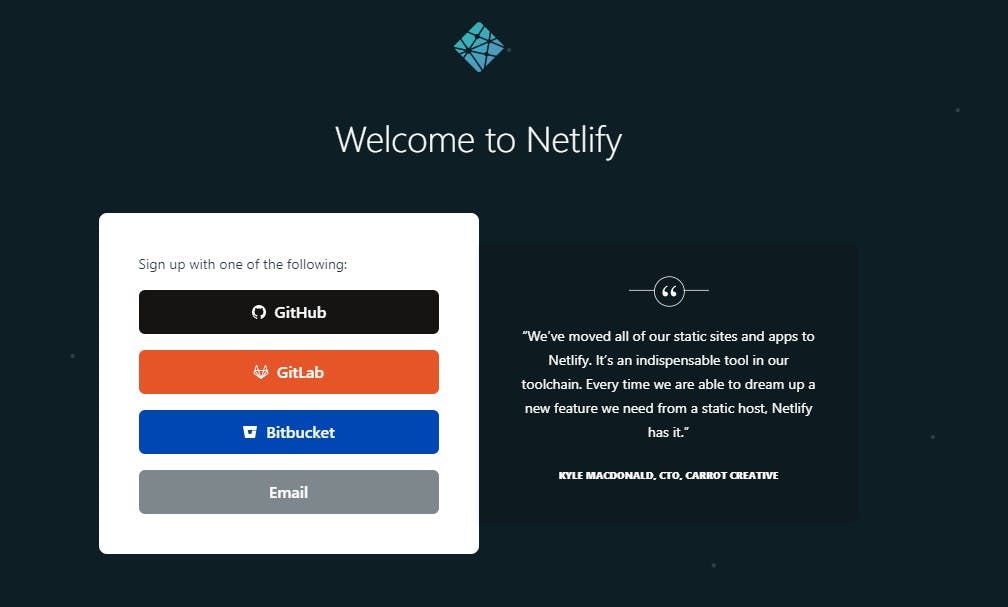
Step 2 : Create an account on Netlify using GitHub and login.
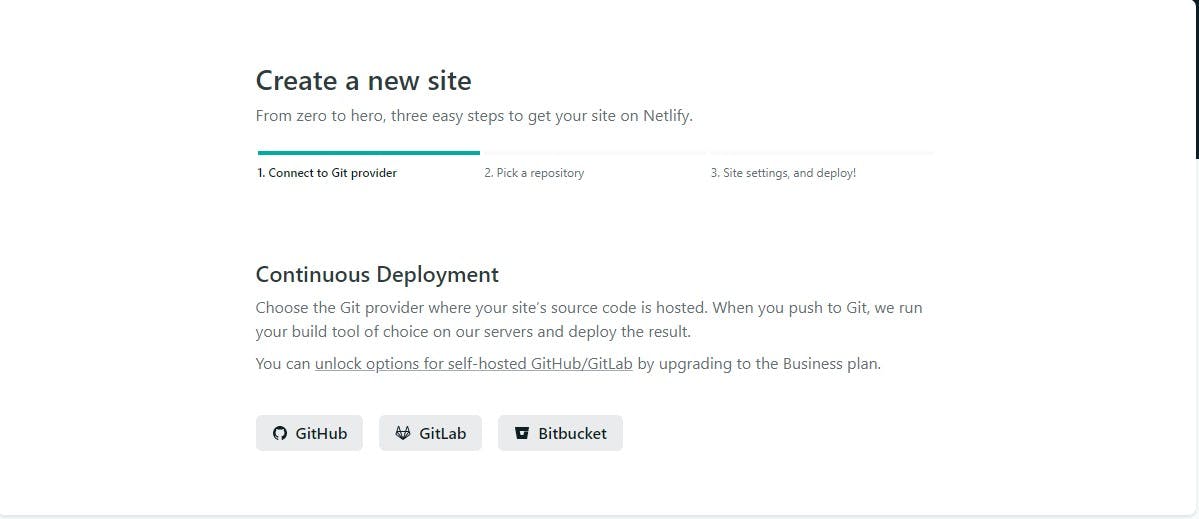
Step 4 : Click on “New site from Git” and select "GitHub" under continuous deployment.
Step 5 : Select the repository that contains the code for Static Site.
you may not see any repositories. In such case you need to Authorize the Netlify to access your repositories, as shown below.

Step 6 : After selecting the repository, you will get the below screen
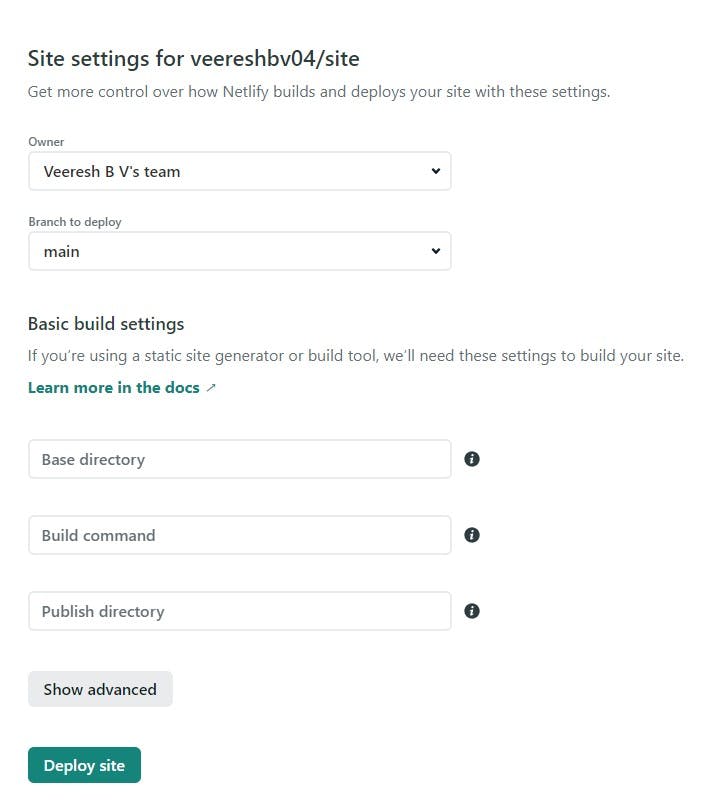
If you have multiply branch, you need to select the branch that you need to host. Now, after selecting the branch click on Deploy Site
Step 7 : Now your site is deployed and you will get the URL to the site.
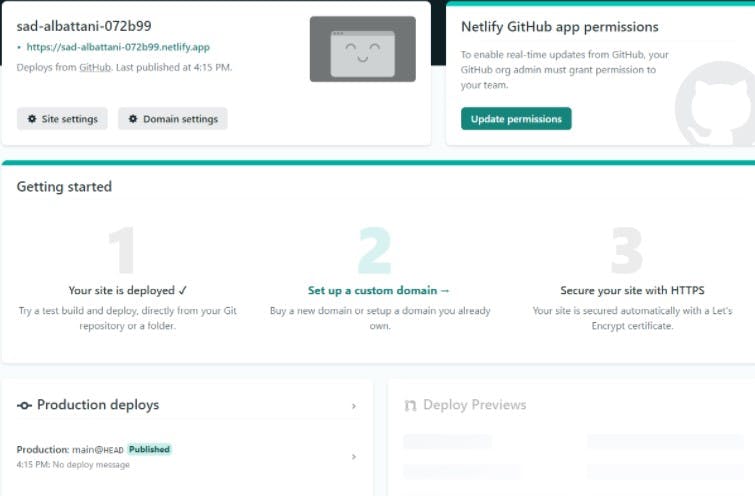
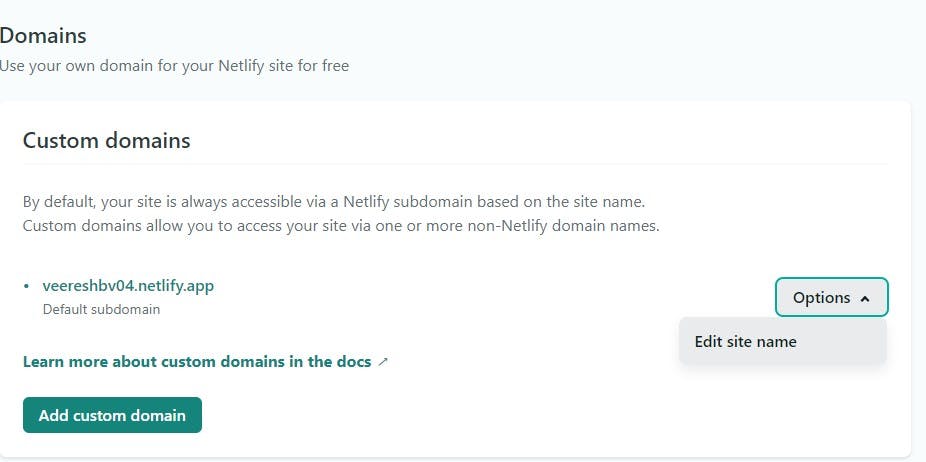
If you want to change the site name then you need to go to Domain Settings and click on Edit Site Name
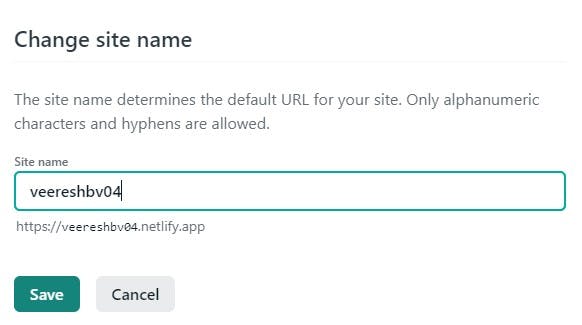
Your website hosting is complete, when you make any changes to your code base and commit to your GitHub Repository then those changes will be automatically reflected in your hosted site, you don't need to manually do it.
Check out my portfolio hosted using Netlify Here
Hope you like the blog, if you have any doubt put it in the comments and I would be happy to help you out. Connect with me on Linkedin
